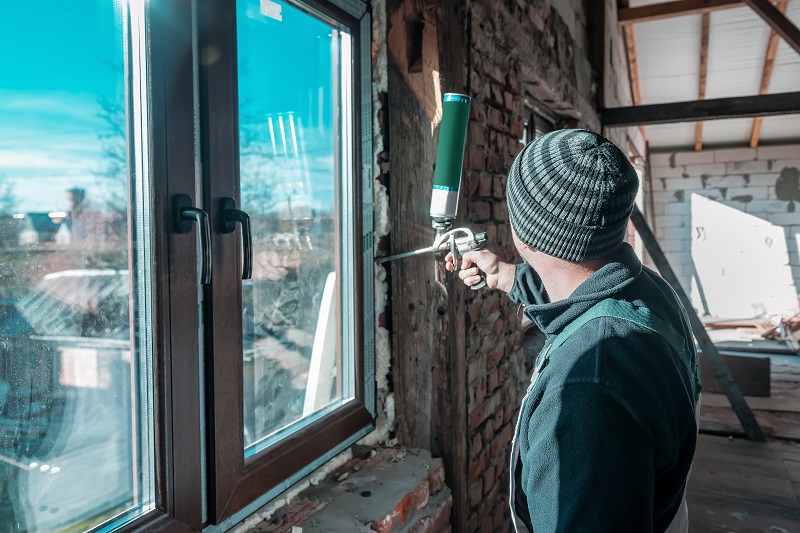
Windows provide access to natural light, they are the guardians of heat in your home, they are protection against weather conditions. The installation of timber windows is a task that requires the involvement of a professional - because the proper installation is crucial to ensure the proper functioning of the window joinery. Nevertheless it is worth knowing how the correct installation of timber windows should proceed.
Note: This text is not a detailed manual, but an outline of the work to be carried out during installation. Please refer to manufacturer's instructions for proper fitting.
See our offer of timber windows:
Fitting timber windows
Choosing a timber window installation technique is as important as choosing the right timber window. It will determine the budget of your work and the thermal efficiency of the installation. The technique you choose to install your window will depend on whether the window is being renovated or completely replaced.
Timber window replacement
Timber window replacement is the ultimate solution to the problem of dilapidated, leaky or very old windows. New windows will certainly be more durable, modern and energy efficient - new timber windows will have better thermal and acoustic insulation, and larger glazing (double or triple) will give the rooms more light. Thus, window replacement brings savings and greater comfort of living! In fact, only one thing is required - proper installation. How do I install new windows in the place of old ones?
Timber window replacement - 6 necessary steps
In order to replace a window correctly - i.e. to make it function properly and look good - the work should be done in the right way. The following steps are general advice - remember that when replacing a timber window it is necessary to adapt the steps to the specifics of the building site, and preferably seek professional advice.
1. Measure window openings
Fitting new windows must be preceded by measurements - successful installation of windows is only possible if they are sufficiently smaller than the openings. Provide clearance/dilatation, which is necessary for the window to deform freely during use, and to properly connect the window to the wall.
Read our article on how to measure a window recess:
2. Prepare the installation
It is necessary to remove all loose fragments of mortar and plaster which are not firmly attached to the wall. None of the strength of the wall must rest on the window frames. This means that they must not be in direct contact with the masonry and there must be a layer of polyurethane foam between them which insulates, cushions and compensates for differences in material stresses. It is important to carefully clean and level the openings, and fill any gaps in the reveal with plaster.
3. Fix the frame
The window should be fixed in the reveals with anchors or dowels. Both methods of fixing are good but they have their advantages and disadvantages. It is not recommended to use dowels to fix lower parts of frames or thresholds. Open frame chambers are difficult to protect from moisture or rainwater. Anchors make it possible to install without breaking the window frame - which is more aesthetic (dowels require drilling into the frame). Installation with anchors is more labour-consuming - they should be screwed to the profile with sheet metal screws and fixed in the wall with two wall plugs so they do not change their position.
4. Arrange connectors accordingly
Both dowels and anchors are spaced 15-25 cm from each corner or mullion. In case of timber windows, the spacing between them in the perimeter of the frame should not be greater than 80 cm. It is absolutely necessary that one fixing element is located near the hinges.
5. Use polyurethane foam
The gaps between the window frame and reveal are filled with polyurethane foam, once it has set, the wedges are removed and the empty spaces are also filled with foam. Low-pressure polyurethane foam insulates well and has very good adhesion to most materials. Full curing is achieved after approximately 24 h (in optimal conditions: i.e. temperature of 20 C and humidity of 60-90%).
6. Ensure tightness around windows
The outer window sill should be recessed through the bottom part of the frame - incorrectly fitted sills become a thermal bridge and can cause condensation inside the room. When installing a window sill (either external or internal), it is best to seal the contact between the window frame and the window sill by creating an expansion joint there, using a permanently elastic material such as neutral silicone.

Sealing a window
How to install timber windows?
Appropriate stage of construction
Installation of a timber window should take place after the completion of the so-called "wet works" stage. It is possible to install the joinery before these works are completed, however, it is necessary to ensure appropriate thermal and humidity conditions in rooms.
Insulation and sealing of a timber window
Sealing means protecting the gap between the window and the reveal against moisture - both rainwater from the outside and air humidity penetrating from the inside of the room. When making a seal, the chemical compatibility of the materials in contact with each other must be taken into account, and the surface to which it will be applied must be cleaned and primed.
Hiring a professional to install timber windows
Installation of timber windows requires specialist knowledge, therefore it is much safer and more secure to hire a professional for this purpose - then you can be sure that the installation will be done according to the insulation and sealing standards.
Need help choosing the right joinery for your project? Contact our sales representative.


