Thanks to restoration, wood window look impeccable despite the passing time, whereas restoration prolongs their durability and lifespan. Often, for various reasons, we do not want to replace wood window. However, what to do when frames or sashes need repair? Below we suggest what restoration of wood window is about, when to carry it out and how to do it.
However, if you are considering replacing your windows, read the article where we provide some advice on this subject.
Wood window restoration
One of the greatest advantages of wood is that it can be restored and painted over and over again. Cracked and peeling coating and even smaller scratches or damages are really only a cosmetic defect, which can be eliminated by restoration and repair.
Below we describe in a few steps how to restore wood window. Where to start, what materials you will need and what tools you should use.
Please note, that this text is not a detailed manual on how to restore wood window, but an outline of the work that needs to be done.
See our offer of wood windows:
Step 1: Assessing the condition of a wood window
The extent of the restoration work depends on the condition of the window.
It is therefore necessary to check successively:
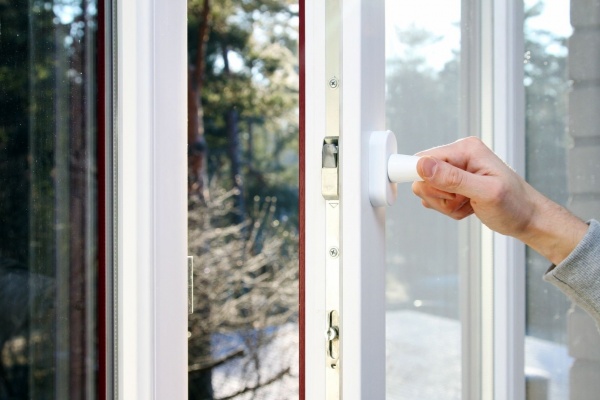
- fixing of fittings, ease of closing and opening and changing the tilt/turn function
- adhesion of the sash to the frame (gaps, possible profile damage)
- defects of seals
- sash and frame profiles cracks, scarring
- paint coatings (peeling, sterilisation of wood).
Step 2: Removal of the wood window sashes
Before restoration a wood window, it is generally necessary to remove the sashes from their hinges.
Step 3: Fixing the fitting
Sash hinge mountings and other fittings weaken over time as a result of loose screws, corrosion or local cracks and decay of wood. If the fittings or hinges are too damaged, it is worth replacing them with new ones. As a first step, the damaged elements should be gently removed. The areas where they were fixed should be gently cleaned with a wire brush and new ones fitted. Tap the hinge gently with a hammer. Screw special wood screws into the nail holes.
Step 4: Adjustment of profiles
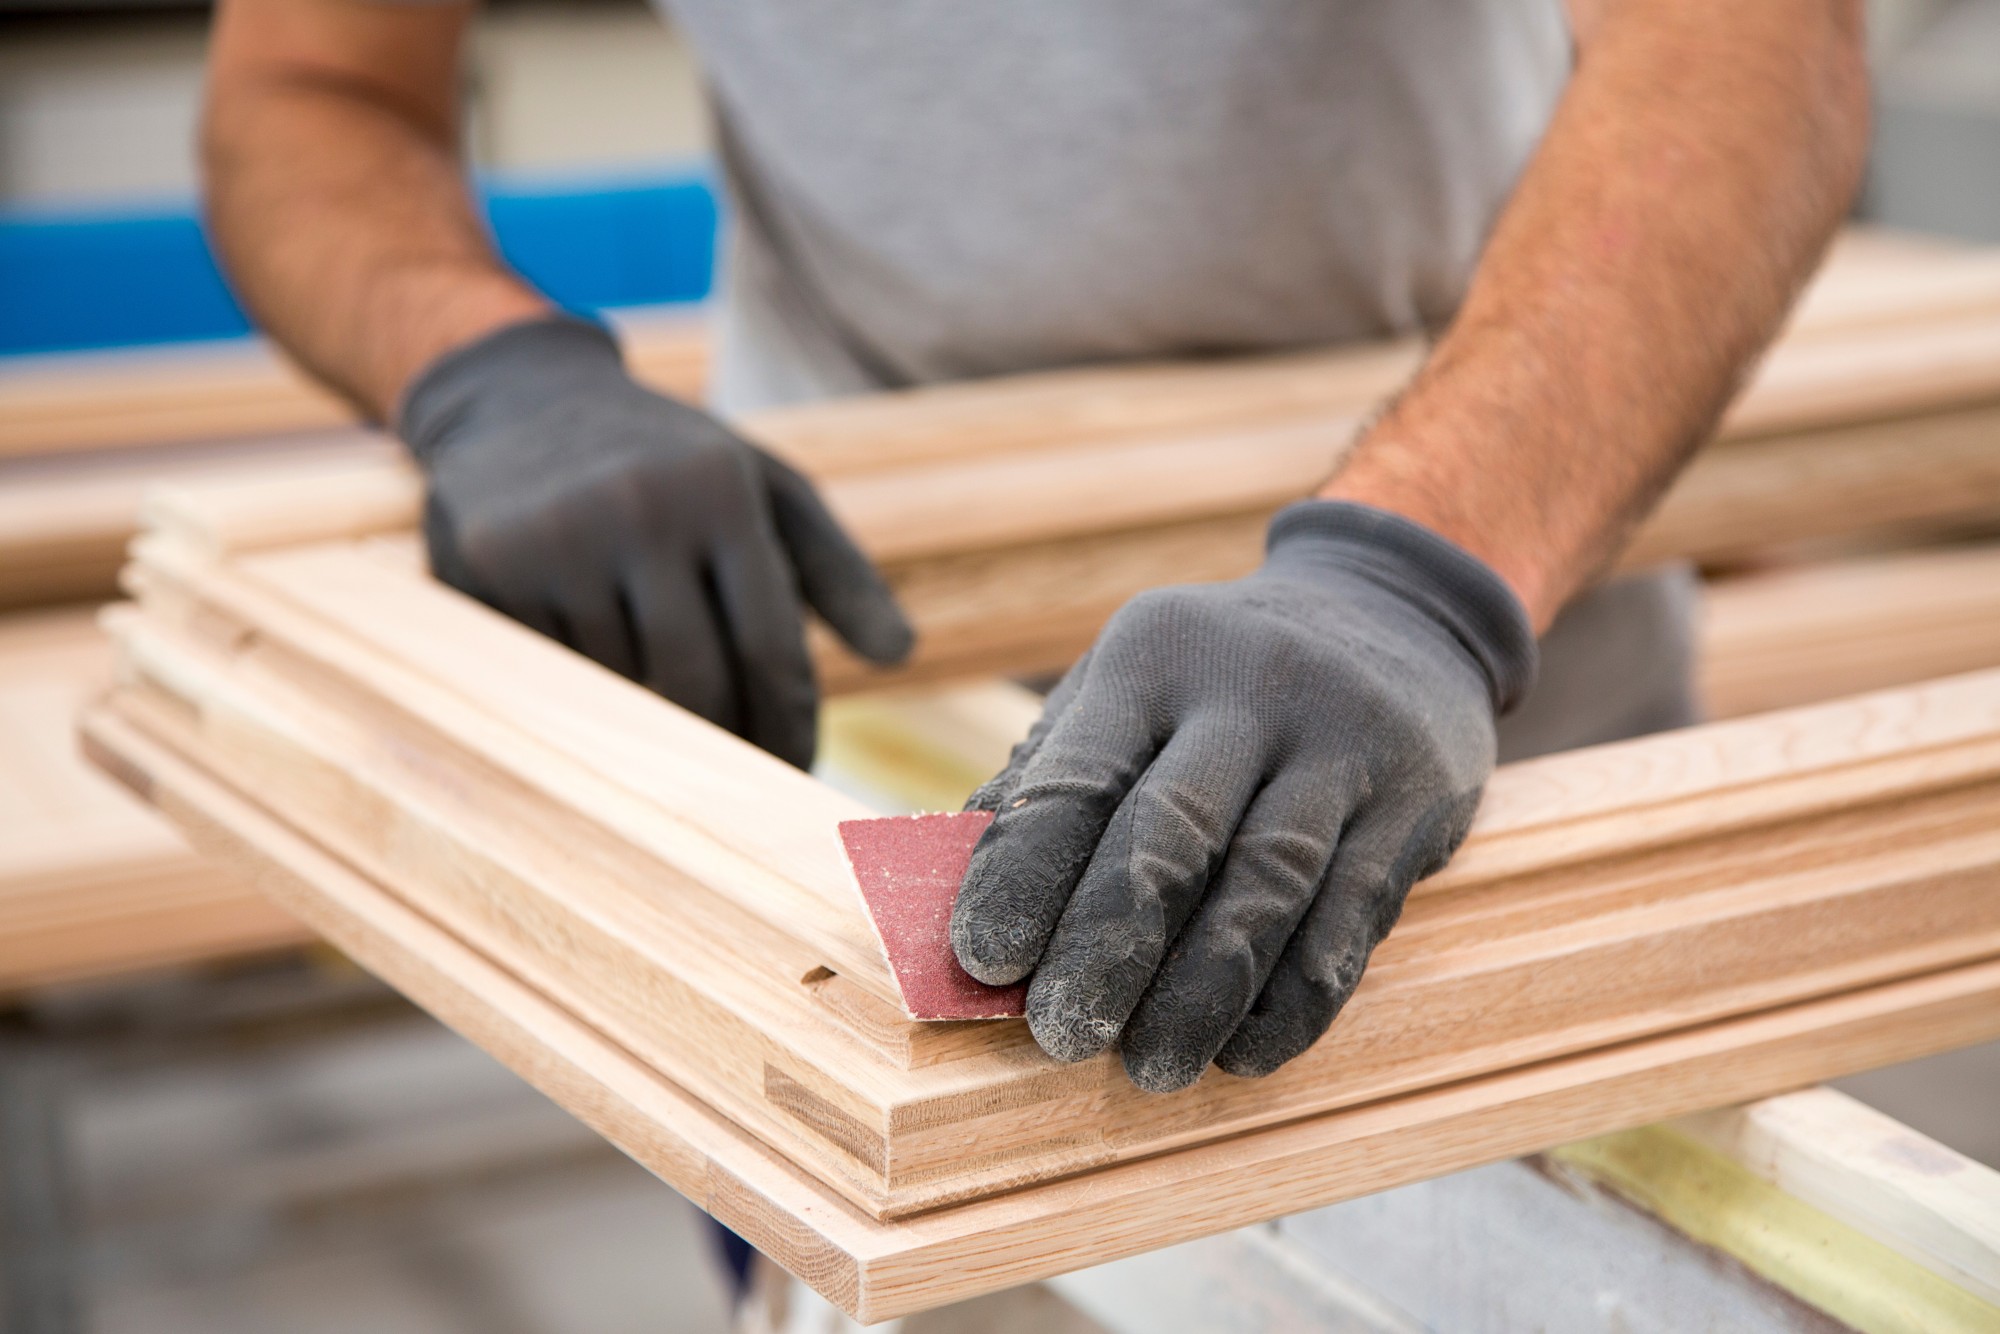
Wood defects and deformations in the frame or sash profile need to be repaired by sanding down or profiling the defects.
Step 5: Preparation for painting
If the restoration of the window is limited to renewing the paint coat, which adheres well to the surface and does not require major repair - the preparations can be limited to wiping the wood surfaces with sandpaper and possibly filling some defects with acrylic. It is also worth dismantling the visible fittings (handles, opening restrictors), if they do not require restoration.
If the old paint is peeling, you will need to remove it completely. The cleaning of wood can be carried out in many ways. An angle grinder, heat gun, paint remover or scraper can be used for the work. Whichever method is chosen, the work must be carried out very carefully. There must be no traces of the old coating left on the cleaned wood.
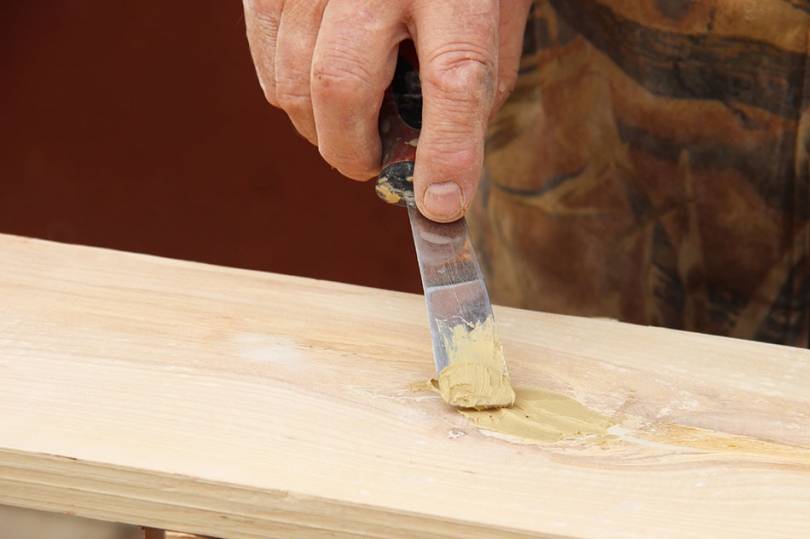
Filling defects in a wood window
Step 6: Impregnation
Open raw wood should be impregnated after repair and grinding in order to protect it from decay, UV rays and to ensure good adhesion of the paint coating.
Step 7: Restoration of seals
Old windows may have damaged seals, or no seals at all. In the past, rubber seals were factory-fitted, surface-mounted with staples (old-style windows) or made of EPDM (newer windows), embedded in milled grooves. Surface seals lose their elasticity after a longer period of time or they break off and have to be replaced. In newer windows, the seals are less susceptible to damage, however, local tears or permanent deformation do occur.
To improve the tightness, you can use commercially available self-adhesive or press-on profile seals with a suitably selected profile.
Step 8: Painting wood window
Our window restoration is coming to an end, as the key moment is the painting of the wood windows. The repaired and sanded surfaces should be thoroughly vacuumed. Elements that will not be painted, i.e. hinges, fittings and glass near the profiles, should be covered with painter's tape.
If you want to preserve the natural appearance of the grain, you can use a varnish stain. The preparation gives the wood a delicate shine and ensures that the natural grain of the wood is elegantly emphasised. More damaged windows can be covered with special opaque paints. The biggest advantage of this solution, when it comes to painting wood windows, is masking all flaws that have appeared in the wood. When choosing a paint, make sure it allows the wood to breathe and is suitable for outdoor use. A well-chosen emulsion will protect the wood against excessive moisture and intense sunlight. When selecting paint, pay attention to the length of its drying period. The window cannot be closed until the coating has cured, as profiles or seals may stick together.
To apply paint, flat brushes with soft bristles of at least two widths should be used. Due to the complicated shape of the profiles, painting should be carried out in stages, starting with the surfaces on the perimeter of the sash and the frame, and after they have dried, we cover the front surfaces. Two coats of paint are usually applied. Do not paint in bright sunshine or at high temperatures as the paint may dry under the brush, making it difficult to spread.
Window maintenance done this way will ensure long lasting results.
Wood window restoration - materials and tools
Materials needed for restoration of a wood window
The selection of materials for restoration of wood window is related to the planned scope of work and includes mainly painting and sealing products. These will be paints, varnishes or wood enamels for exterior and interior use, wood filler, acrylic filling compound, solvents and cleaning agents. When repairing fittings, wood screws of appropriately selected diameters will be necessary. EPDM self-adhesive profile seals will be used to seal the window sashes.
Tools needed for restoration of a wood window
In addition to basic tools such as a small hammer, spatulas of various widths, flat brushes, screwdrivers, a scraper, scissors or a knife with an replacement blade - you will also need power tools such as a sander to effectively remove the paint. When repairing fittings, you will need a drill with drill bits for wood and metal, with diameters adapted to the dimensions of the parts to be fixed.
Why carry out window restoration?
There are many reasons why we decide to restore our old windows, although most of them are purely aesthetic. The maintenance will restore the former shine to the windows and the whole building will gain an elegant look. Another reason why we decide to restore wood windows is to reduce heating costs. Sealed, restored wood windows will also protect us from dust, fumes and noise coming from outside.
Read also:
Looking for the perfect wood window for your project? Get in touch with our Sales Representative. He will surely help you choose the perfect solution.

