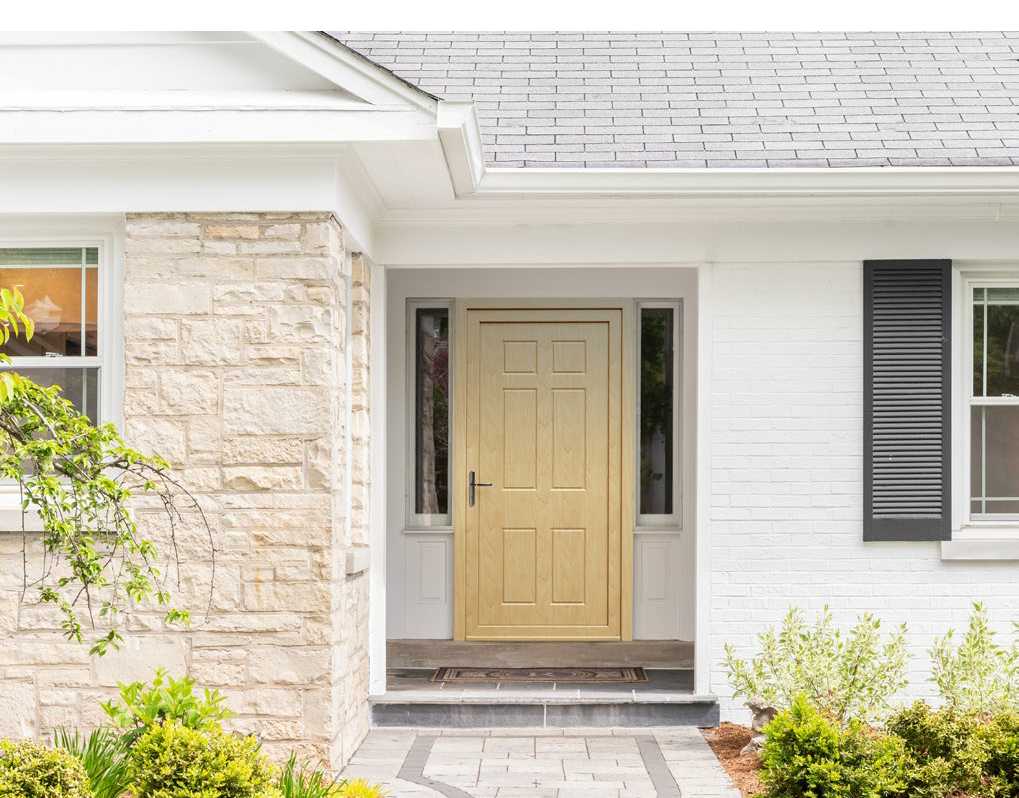
Are you facing the purchase of a new front door for your home and have a lot of questions? Would you like to assemble them yourself but don't know how to go about it? Read on for a few important tips that will help you prepare for the mounting of your doors efficiently and effectively.
Essential tools for mounting doors
Before you start the installation work, first check the order you received from the supplier. Make sure you have received exactly the door you ordered (design, colour, workmanship, size). Check that the order is complete and that, in addition to the door and frame (door frame), it also includes the accessories you ordered: hinges, handle, hardware, lock inserts, gaskets, screws and caps.
The next very important step is to prepare the work site and complete all the tools. For mounting your front door, prepare the following tools and materials:
- timber wedges, screws, anchors and nails,
- installation foam - low pressure,
- spirit level and tape measure,
- hammer and chisel,
- screwdriver or drill,
- primer and gypsum plaster for finishing work.
Step-by-step mounting of the front door
The mounting of the front door is a very important element of safety and comfort in the home. It should be approached with great care, because a well assembled and insulated door will protect our home not only from unwanted break-ins, but also from the penetration of cold air, moisture and loud noises from outside.
Before starting work, carefully read the instructions provided by the manufacturer to understand the specific requirements for the type of door you are ordering. Different types of doors (PVC, aluminium, timber, steel, external or internal) may require slightly different mounting techniques.
Learn the 7 steps on how to assemble a front door correctly:
1. Dismantle the old door
Remove the old door from its hinges and remove the hinges. Using a chisel and hammer, balance and remove the old door frame. Thoroughly clean the surface of the door opening of any remaining mounting foam and nails to ensure maximum adhesion for mounting the new door frame.
2. Fit the new frame
Carefully measure the exposed doorway and ensure that the new frame fits the size of the doorway. If it is too large, it will need to be trimmed. Level the jamb and assemble it into the door opening. Make sure the frame is correctly levelled several times. Use timber wedges to hold it in position. If everything lines up, screw it to the wall with screws and anchors. It's important that the door frame is stable and accurately aligned.
3. Fit the door leaf
Once the frame is in place, fix the door hinges into the frame and set the door on them according to the manufacturer's instructions. Make sure several times that the frame and door are properly aligned and vertical.
4. Assemble the accessories
The next step is mounting the lock and handle. Fit the lock cylinder, door handle or door knob according to the manufacturer's instructions.
5. Insulate the door
Secure the door frame with painter's tape, then spray the space between the wall and the door frame with a small amount of water to make the foam bond better. Fill the space with low-compression polyurethane foam. Remember that the foam has strong expansion properties, so do not apply too much.
6. Finish
Fit and assemble the door seal around the edge of the door, carry out a final check that the door opens and closes correctly. Are they properly levelled. Adjust the door at the hinges if necessary.
7. Plastering work
Before plastering work, protect the door and frame with building film. Then prime the area between the door frame and the cavity wall to improve the adhesion of the plaster and even out the absorbency of the substrate. Leave the primed substrate to dry completely. Depending on weather conditions, the primer can dry for 3 to 24 h. Once the substrate has dried, prepare the plaster mortar and use a trowel to apply it to the entire surface, then use the trowel to level the entire wall.
If the door needs painting or finishing, do this according to the manufacturer's instructions. Remember that painting or finishing can be done before or after mounting, depending on your preference.
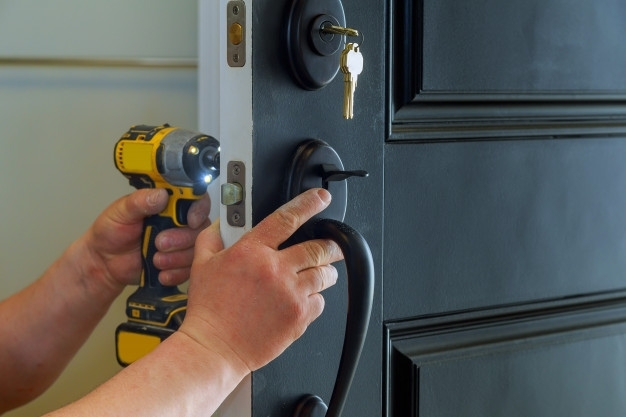
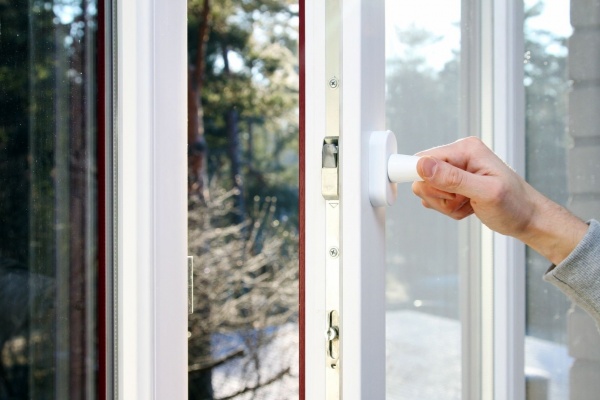
Mounting the lock on your front door
Keep the documentation for the door, including the invoice and warranty card. This is important in case of any complaints or if you need help from the manufacturer.
Front doors at Aikon Distribution
Choosing the right front door is a very important decision as it affects not only the functionality and appearance of our home, but also security and energy efficiency. It is worth taking the time to explore the options available and find the one that best suits our needs and tastes.
At Aikon Distribution, we have an extensive selection of front doors:
- front doors on uPVC panels
- front doors in combined panels (PVC and aluminium)
- front doors on aluminium panels
- glass door panels
- overlay door panels
 Examples of PVC door panels on offer from Aikon Distribution
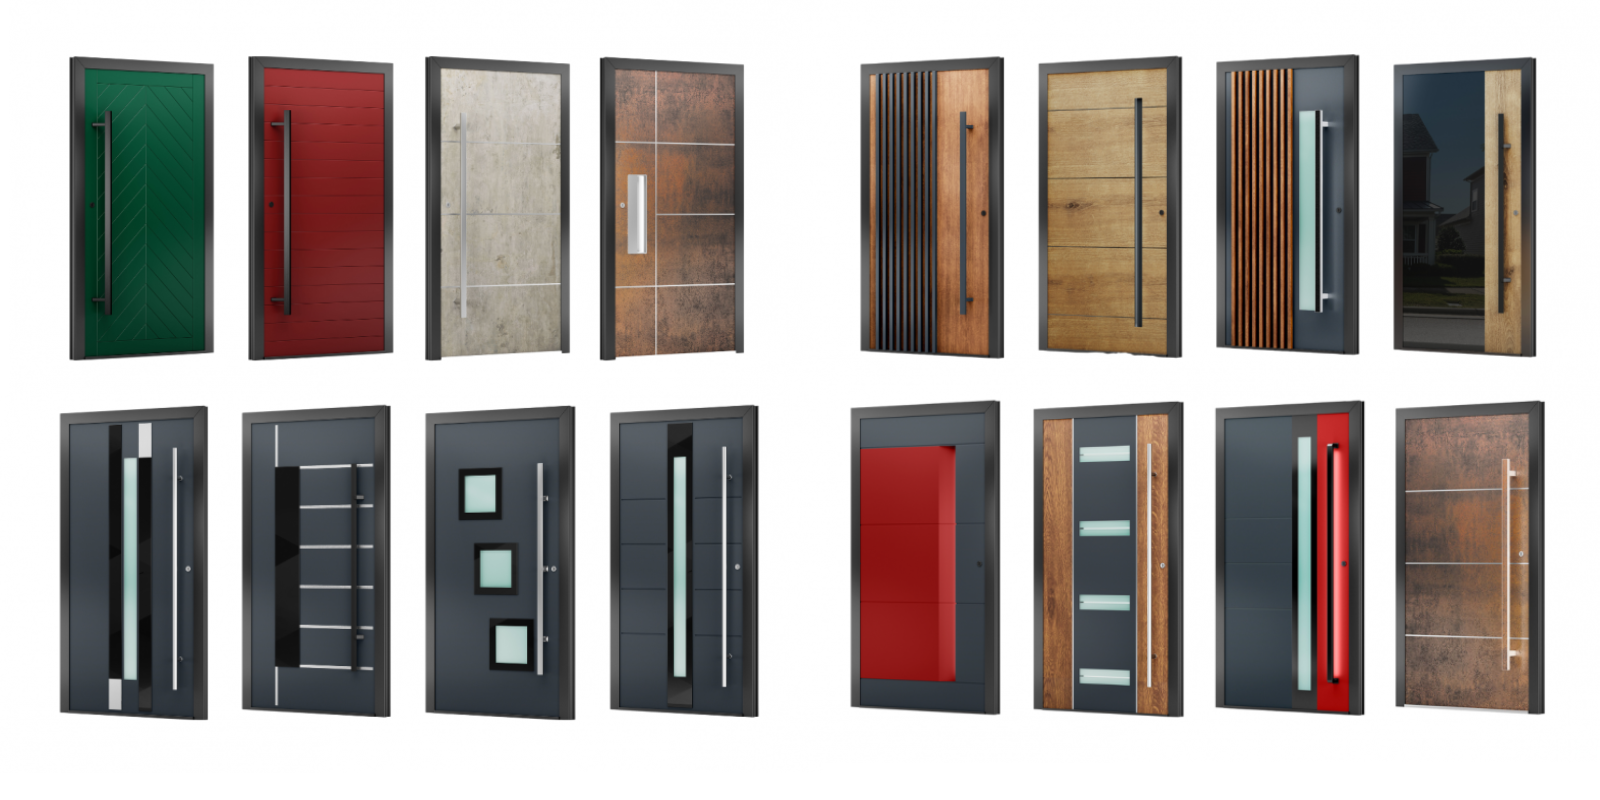 Example aluminium door panels in the offer of Aikon Distribution
Check out our proposals for entrance door designs:
or download:
If you prefer timber doors, be inspired by our timber door catalogue:
download:
Door mounting. Do it yourself or with the help of professionals?
Mounting your front door is not too complicated, but it should be done with due care. If you're not sure you can do it yourself, it's better to consult a professional carpenter or fitting company who can help you through the whole process.
Contact us if you need advice and have any doubts about choosing a front door for your home.

